How to Use HTV
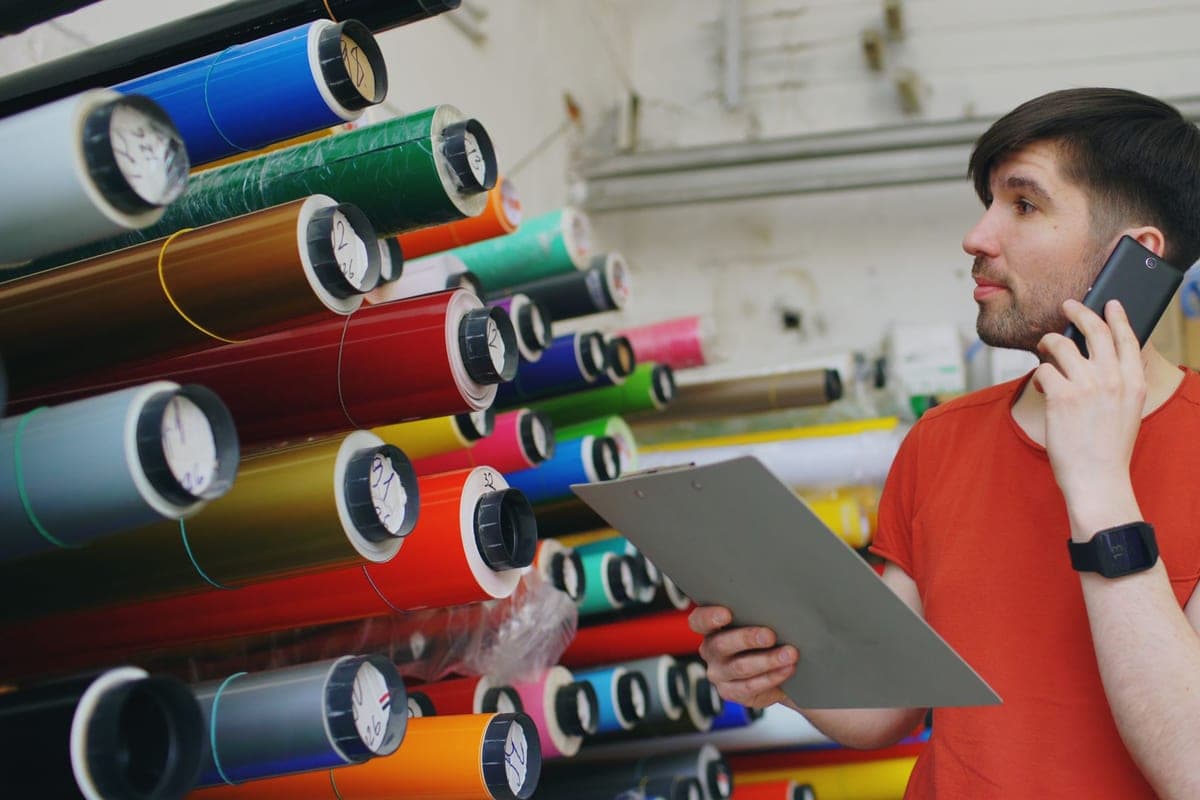
Six steps, three common mistakes, and the troubleshooting section you will actually come back for.
Heads up: Mat & Blade earns a commission from qualifying purchases made through the links on this page, at no extra cost to you. It never changes which products we recommend or how we rank them. Read the full disclosure.
Mirror the design, cut it face-up with the shiny carrier side down, weed away everything you do not want, pre-press the blank, press at the material's published temperature and time with firm pressure, then peel per the material's instructions. Those six steps are the whole process, and the detail below is mostly about not getting them subtly wrong.
What you need
- Heat transfer vinyl — which to buy
- A cutting machine and a mat, unless your HTV is a matless Smart format
- A weeding hook or a fine pick
- A heat source that holds a set temperature — options here
- A firm heat-safe surface, ideally a heat press mat rather than an ironing board
- A blank — what presses well
The process
1Mirror the design
This is the step people skip and regret. HTV is cut face-down through its clear carrier sheet, so the design must be flipped horizontally before cutting or it presses on backwards. Design Space prompts you when you select an iron-on material; do not dismiss the prompt. Check text especially — a mirrored logo may be forgivable, mirrored words are not.
2Load it shiny side down
The clear plastic carrier sheet goes face-down against the mat, so the blade cuts through the colored vinyl and not through the carrier. If you load it the wrong way up you will cut the carrier, the design will fall apart, and the sheet is wasted. Shiny side down, every time.
3Cut, then check before unloading
Select the correct material setting and cut. Before unloading, lift a corner of the waste vinyl to check the blade cut through the color but not through the carrier. If it did not cut deep enough you can usually run the cut again without moving anything; once you unload, you cannot.
4Weed away the waste
Remove every piece of vinyl that is not part of the design — the background and the interior pieces, like the middle of an O. Work under good light at an angle so the cut lines catch. Keep the carrier sheet flat and do not stretch it. Full weeding technique.
5Pre-press the blank
Press the bare garment for about five seconds before the design goes anywhere near it. This drives out moisture and flattens the fabric. Cotton holds humidity, and steam trapped under a transfer is a common reason a technically correct press still fails. Costs five seconds; prevents a category of failure.
6Position and press
Lay the design carrier-side up, at the material's published temperature and time, with firm even pressure. Press straight down and hold — do not slide the press around like an iron. If the design is larger than the plate, press in overlapping sections rather than trying to stretch one press across it.
7Peel correctly
Check whether your material is a hot peel, warm peel or cold peel — this is published per product and it matters. Peeling a cold-peel material while hot lifts the design; waiting on a hot-peel material makes the carrier stubborn. Peel back at a sharp angle rather than straight up, and if the vinyl lifts with the carrier, lay it back down and press again for a few more seconds.
When it does not work
| What happened | Most likely cause | Fix |
|---|---|---|
| Design pressed on backwards | Not mirrored | No fix — the shirt is done. Mirror next time. |
| Design lifts with the carrier | Under-pressed: too cool, too short, or too light | Lay it back down and press again for a few more seconds |
| Edges peel after washing | Insufficient pressure, or moisture in the garment | Press firmer on a firm surface; pre-press the blank |
| Design cracks after a few wears | Over-pressed, or a fabric that flexes too much for the material | Reduce time slightly; check fabric compatibility |
| Shiny marks around the design | Direct plate contact scorching the fabric | Use a cover sheet or parchment between press and design |
| Vinyl tore while weeding | Dull blade, cut too shallow, or detail finer than the material holds | Check the blade; simplify fine detail |
| Cut went through the carrier | Loaded shiny side up, or pressure too high | Shiny side down; reduce pressure one step |
Washing what you made
Wait at least 24 hours before the first wash so the adhesive fully sets. Then turn the garment inside out, wash cold on a gentle cycle, and either hang to dry or tumble on low. Avoid fabric softener, which coats fibers and works against adhesion over time, and never iron directly over the design.
Done properly, a good HTV design outlasts the shirt. Most reports of designs failing quickly trace back to one of the causes in the table above rather than to the material.
1. Best for the material this guide assumes
Siser EasyWeed HTV
Siser · Currently sold · Verified 2026-09-27
The steps below work with any HTV, and they are most forgiving with a material that weeds cleanly and presses at a moderate temperature. Siser publish exact application guidance for it, so you can follow a number rather than estimate one.
What works
- Weeds more cleanly than almost anything else at this price
- Thin enough that a layered design does not feel like a plastic patch
- Siser publishes clear time and temperature guidance for it
- Sold in single sheets, so you can try three colors without buying three rolls
What does not
- Matte only — no gloss, glitter or specialty finish in the base line
- Sheets cost more per square inch than buying a roll
- Still needs real heat and pressure; a household iron gives mixed results
Not for you if
You want a glitter or holographic finish. That is a different Siser product line, not EasyWeed.
Key specs
- Type
- Heat transfer vinyl (HTV) — for fabric
- Fabric compatibility
- Siser rates it for cotton, polyester and cotton/poly blends
- Thickness
- Thin — around 90 microns
- Carrier
- Pressure-sensitive clear carrier sheet
- Finish
- Matte
#ad · affiliate link · we never show a price we cannot verify
2. Best for the heat source
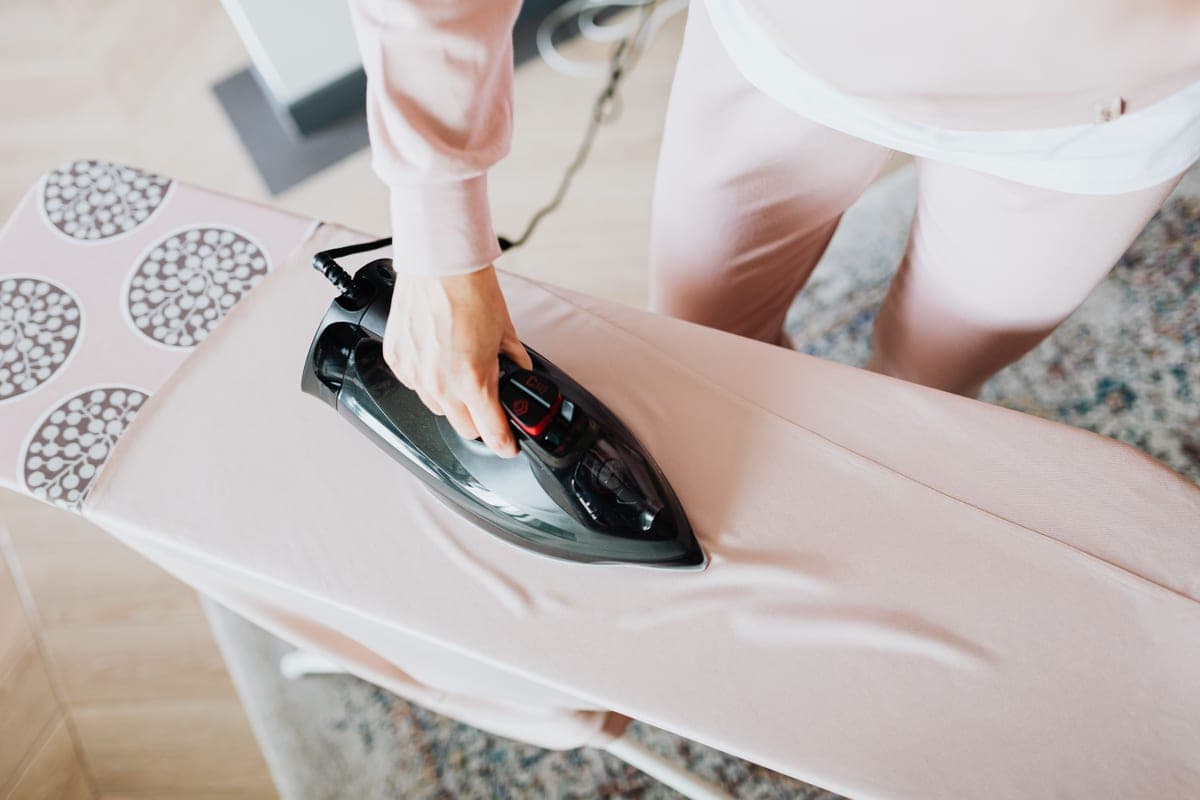
Cricut EasyPress SE
Cricut · Currently sold · Verified 2026-09-27
Holding a set temperature and applying even pressure is what makes the press work, and a household iron does neither — its thermostat cycles and its soleplate has steam holes. A handheld press gives you both and stores in a cupboard.
What works
- Holds a set temperature, which a household iron does not
- Even plate contact across the whole design
- Cricut's Heat Guide gives exact settings for it by material
- Stores away, which matters more than people expect
What does not
- You supply the pressure by leaning on it, so results depend on your technique
- Costs more than a comparably sized clamshell press
- Small plates mean multi-press passes on a big design
Not for you if
You are pressing more than a handful of shirts a week. Leaning on a handheld press twenty times an evening gets old fast — buy a clamshell.
Key specs
- Type
- Handheld heat press
- Plate sizes
- 12 x 10 in and 9 x 9 in in the SE line
- Temperature
- Set precisely; holds it, unlike a household iron
- Timer
- Built in, with an audible finish
- Storage
- Shelf or drawer — no permanent bench space
#ad · affiliate link · we never show a price we cannot verify
3. Best for the surface underneath
Heat Press Mat
Various · Currently sold · Verified 2026-09-27
A firm heat-safe mat is the cheapest fix for uneven presses. On a padded ironing board, seams and collars absorb the pressure meant for the design, which is why one corner lifts and the rest holds.
What works
- Turns an uneven surface into an even one, which is most of a good press
- Protects the table underneath
- Costs very little relative to the failures it prevents
What does not
- One more thing to store
- Does not fix pressure that is simply too light
Not for you if
You have a clamshell press with a proper lower platen. The platen already does this job.
Key specs
- Purpose
- Firm heat-resistant base that concentrates pressure into the design
- Why it matters
- Absorbs seams and zips so the design sits flat
- Sizes
- Sized to match common press plates
#ad · affiliate link · we never show a price we cannot verify
4. Best for step three
Vinyl Weeding Tool Set
Various · Currently sold · Verified 2026-09-27
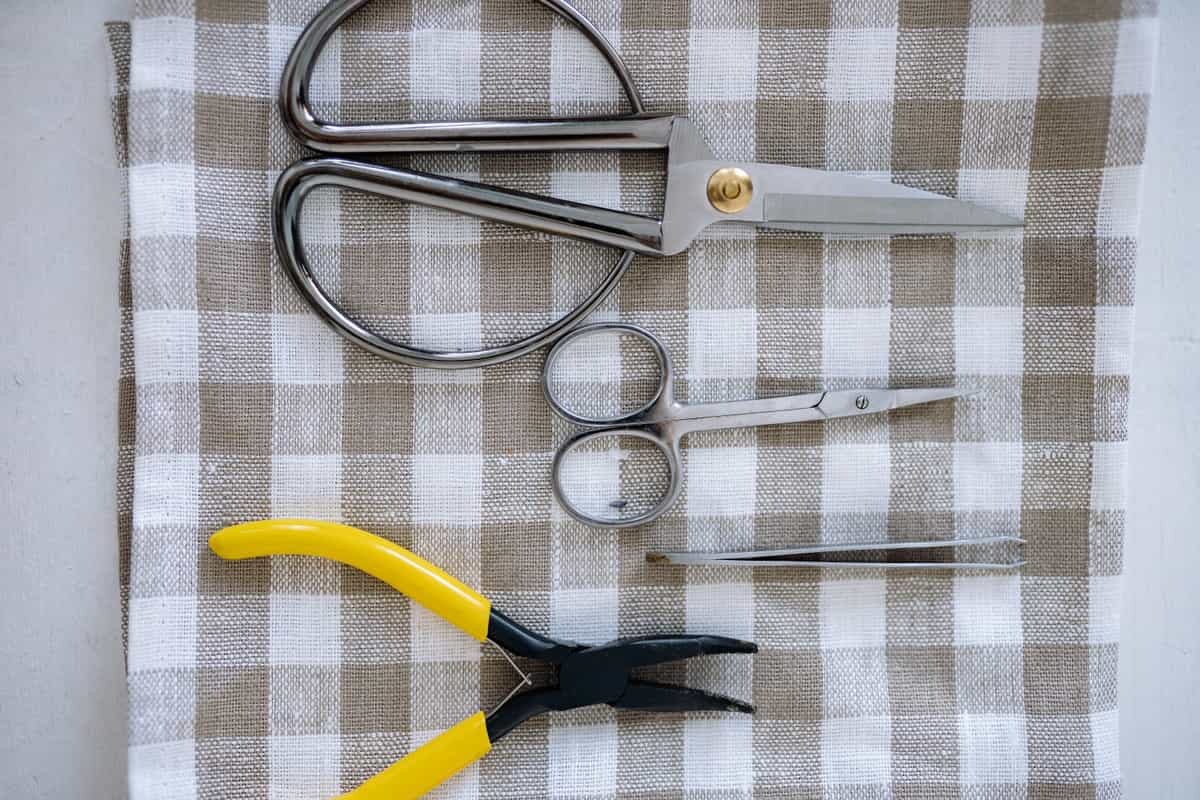
Weeding with a pin is genuinely miserable and a hook set costs very little. The scraper in the set also doubles as your burnishing tool.
What works
- Turns the most tedious step into a manageable one
- The scraper doubles as your transfer-tape burnishing tool
- Cheap, and a set lasts years
What does not
- Cheap sets have soft points that dull quickly
- More pieces than you will actually use
Not for you if
Nothing — if you cut vinyl, you need at least a hook.
Key specs
- Typical set
- Weeding hook, fine tweezers, scraper, spatula, scissors
- Used for
- Removing the vinyl you did not cut out of the design
- Also fits
- Every brand of machine — nothing here is Cricut-specific
#ad · affiliate link · we never show a price we cannot verify
Common questions
Do I have to mirror HTV?
Which way up does HTV go on the mat?
Why is my HTV lifting with the carrier sheet?
Can I use an iron instead of a heat press?
How soon can I wash a shirt after pressing HTV?
How do I layer two colors of HTV?
Sources
- Siser product and application guidance — EasyWeed application temperature, time, pressure and peel type, verified 27 September 2026
- Cricut Heat Guide — Iron-on settings by press and material, verified 27 September 2026
How we picked
We verify every product is currently sold by reading the manufacturer's own catalog, compare published specifications rather than marketing copy, and rank on what a first-time buyer has to decide. We do not run lab tests and we do not claim to, and commission never affects the order.
Read this next
The Best HTV Vinyl for Beginners
Which heat transfer vinyl weeds cleanly and presses forgivingly — and which to switch to later.
How to Weed Vinyl
Technique, tools and the reverse-weed trick that makes fine script designs manageable.
Heat Press Temperature Guide
Published time and temperature figures by material, sourced — plus the three variables that matter more.

Your First Cricut Shirt
A complete first-shirt walkthrough, with the three common mistakes flagged before you make them.
The Best Heat Press for Beginners
Handheld or clamshell, which suits your volume and space, and when you need no press at all.
The Best Blank Shirts for HTV
Which blanks take heat transfer vinyl cleanly, and the fabrics that cause avoidable problems.
Back to Vinyl & Materials.