Heat Press Temperature Guide
The published figures, with sources — and the one instruction that matters more than any number here.
Heads up: Mat & Blade earns a commission from qualifying purchases made through the links on this page, at no extra cost to you. It never changes which products we recommend or how we rank them. Read the full disclosure.
Use the figure published by your specific material's manufacturer, printed on the packaging or on their site. The table below collects common published figures with the source named for each, and it is a starting point rather than an authority — manufacturers differ, products change, and your material's own label wins every time.
Common published settings
| Material | Temperature | Time | Peel | Source |
|---|---|---|---|---|
| Siser EasyWeed on cotton | Around 305°F / 150°C | Around 15 s | Hot or warm | Siser published guidance |
| Siser EasyWeed on polyester | Lower than cotton — check label | Around 15 s | Hot or warm | Siser published guidance |
| Cricut Everyday Iron-On | Per Cricut Heat Guide by press | Per Heat Guide | Per Heat Guide | Cricut Heat Guide |
| Glitter HTV | Typically higher than standard | Typically longer | Usually cold | Varies by maker — check label |
| Flock / puff HTV | Varies considerably | Varies | Usually cold | Varies by maker — check label |
| Sublimation on polyester | Around 385-400°F / 195-205°C | Around 45-60 s | Immediately | See our sublimation guide |
Temperature is one of three variables
People focus on temperature because it is the number on the display. In practice, pressure is what most often goes wrong.
1. Temperature
Too low and the adhesive never fully activates, so the design lifts. Too high and you scorch the fabric or over-cook the vinyl, making it brittle. Budget presses can display a temperature that differs from the actual plate — worth verifying once with an infrared thermometer.
2. Time
Published times assume the press has reached and is holding the stated temperature. Starting the timer while the plate is still climbing means a shorter effective press than you think. Use the machine's timer and start it once the temperature is stable.
3. Pressure — the one people get wrong
Firm and even, across the whole design, for the full duration. This is where most failures originate, and it is the hardest to judge because you cannot read it off a display.
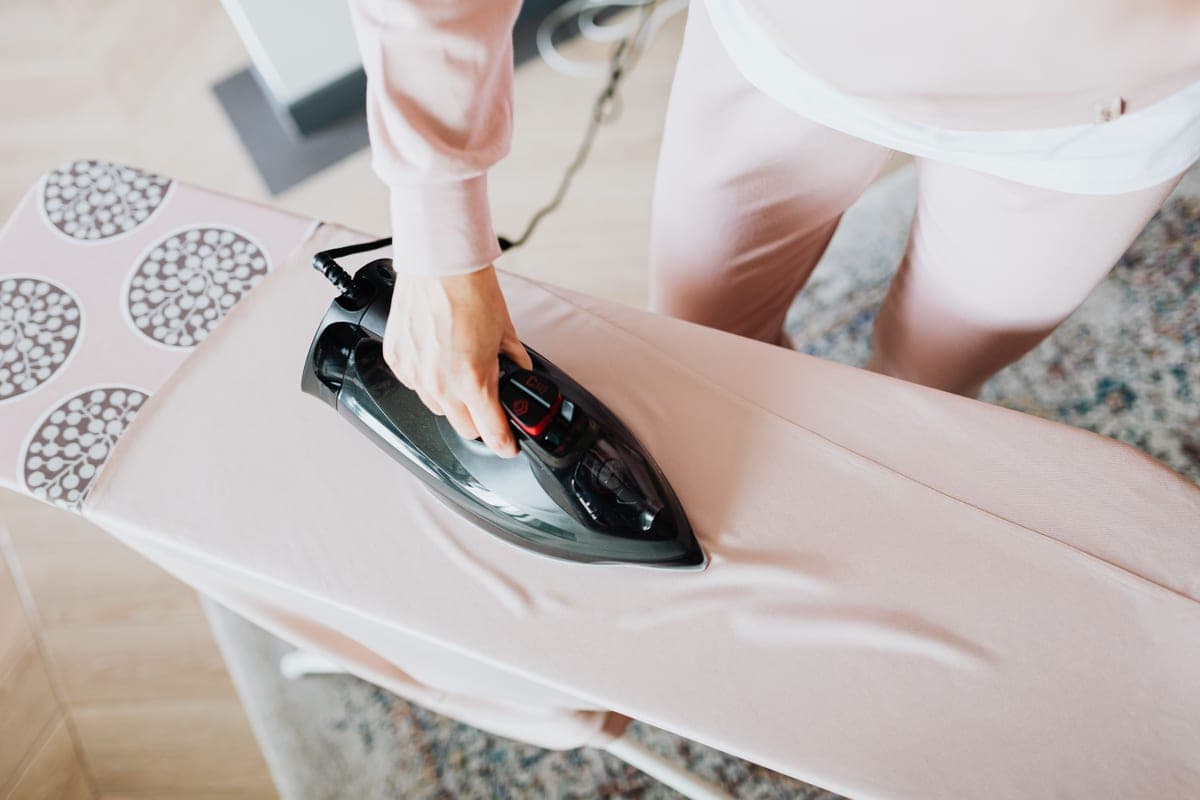
The specific culprit is usually the surface underneath. On a padded ironing board, the padding absorbs the force and the seams, collar and hems take what is left — so the design gets uneven pressure even though you pressed hard. A firm heat press mat fixes it cheaply.
Fabric matters as much as material
| Fabric | Consideration |
|---|---|
| 100% cotton | The most forgiving. Tolerates higher temperatures well. |
| Polyester | Scorches at temperatures cotton tolerates. Use the lower published setting. |
| Cotton/poly blend | Use the polyester figure — the more heat-sensitive fiber sets the limit. |
| Performance fabric | Often has a water-repellent finish that resists adhesive. Test one first. |
| Fleece and brushed fabric | Raised nap prevents contact. It flattens under the press, then recovers and lifts the edges. |
| Nylon | Very heat-sensitive. Needs a low-temperature material made for it. |
The steps the numbers assume
- Pre-press the blank for around five seconds to drive out moisture and flatten the fabric. Trapped steam stops the bond.
- Press on a firm surface, not a padded ironing board.
- Use a cover sheet — parchment or teflon — between the plate and the design to avoid shiny scorch marks.
- Start the timer once the plate is at temperature, not while it is still heating.
- Press straight down and hold. Do not slide it around like an iron.
- Peel per the material's stated peel type — hot, warm or cold. Getting this wrong lifts the design.
- Wait 24 hours before the first wash so the adhesive fully sets.
Troubleshooting by symptom
| Symptom | Likely cause |
|---|---|
| Design lifts with the carrier | Under-pressed — too cool, too short, or too light |
| Edges peel after washing | Insufficient pressure, or moisture left in the garment |
| Design is brittle and cracks | Over-pressed — too hot or too long |
| Scorch marks on the fabric | Too hot for that fabric, or no cover sheet |
| Shiny box around the design | Direct plate contact on the fabric — use a cover sheet |
| One corner lifted, rest fine | Uneven pressure — usually a soft surface or a seam underneath |
1. Best for the material with the clearest guidance
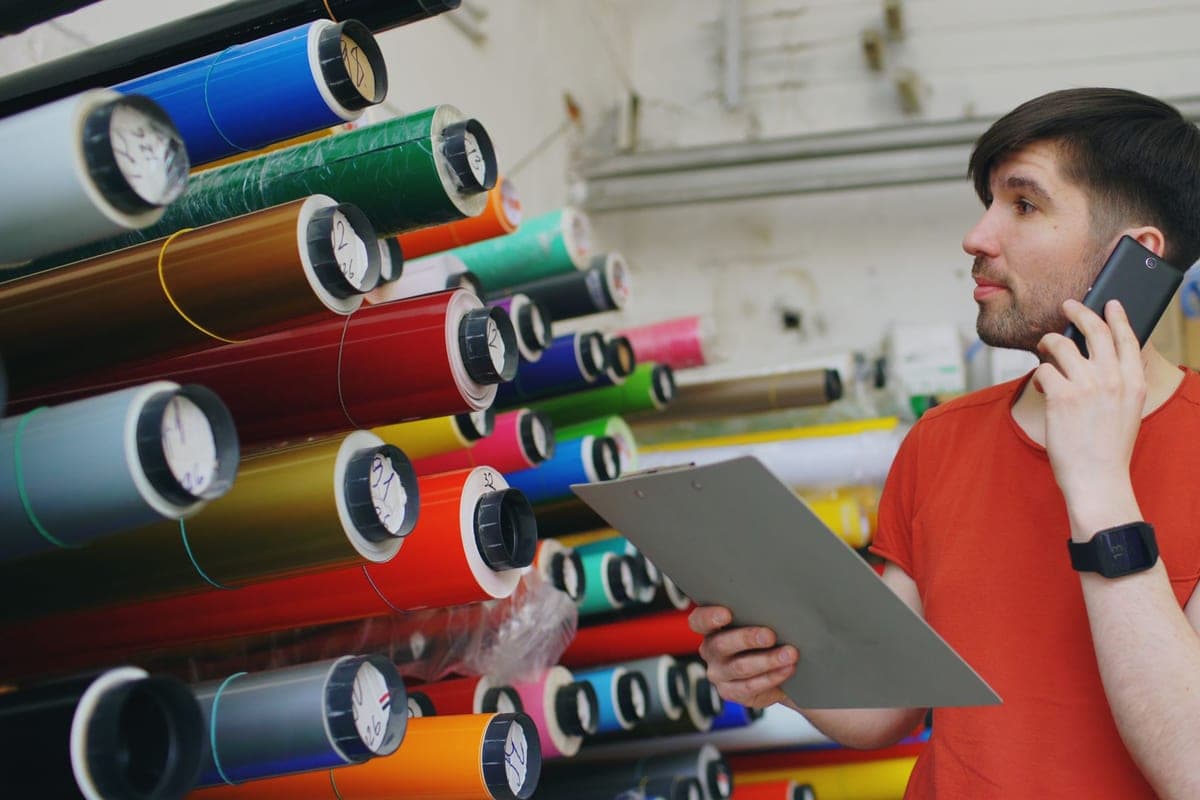
Siser EasyWeed HTV
Siser · Currently sold · Verified 2026-09-27
Siser publish specific time, temperature, pressure and peel guidance for EasyWeed, which is why it is the material we point beginners at. Following a published figure beats estimating from a general table every time.
What works
- Weeds more cleanly than almost anything else at this price
- Thin enough that a layered design does not feel like a plastic patch
- Siser publishes clear time and temperature guidance for it
- Sold in single sheets, so you can try three colors without buying three rolls
What does not
- Matte only — no gloss, glitter or specialty finish in the base line
- Sheets cost more per square inch than buying a roll
- Still needs real heat and pressure; a household iron gives mixed results
Not for you if
You want a glitter or holographic finish. That is a different Siser product line, not EasyWeed.
Key specs
- Type
- Heat transfer vinyl (HTV) — for fabric
- Fabric compatibility
- Siser rates it for cotton, polyester and cotton/poly blends
- Thickness
- Thin — around 90 microns
- Carrier
- Pressure-sensitive clear carrier sheet
- Finish
- Matte
#ad · affiliate link · we never show a price we cannot verify
2. Best for looking settings up by name
Cricut Everyday Iron-On
Cricut · Currently sold · Verified 2026-09-27
Cricut's Heat Guide lets you select the press, the material and the blank and returns an exact temperature, time and peel type. For anyone nervous about whether their number is right, that removes the uncertainty entirely.
What works
- Cricut's Heat Guide gives you a precise, named setting instead of a guess
- Sold in the same shops as the machine, so it is easy to restock
- Consistent weeding behavior across colors
What does not
- Costs more per square inch than third-party HTV
- The convenience is mostly about the settings lookup, not the material itself
Not for you if
You are pressing a lot of shirts and cost per shirt matters. Third-party rolls are meaningfully cheaper.
Key specs
- Type
- Heat transfer vinyl (HTV)
- Fabric compatibility
- Cricut rates it for cotton, polyester, blends, canvas
- Settings source
- Listed in Cricut's own Heat Guide by press and material
- Format
- Rolls and sheets
- Finish
- Matte
#ad · affiliate link · we never show a price we cannot verify
3. Best for the variable the table cannot fix
Heat Press Mat
Various · Currently sold · Verified 2026-09-27
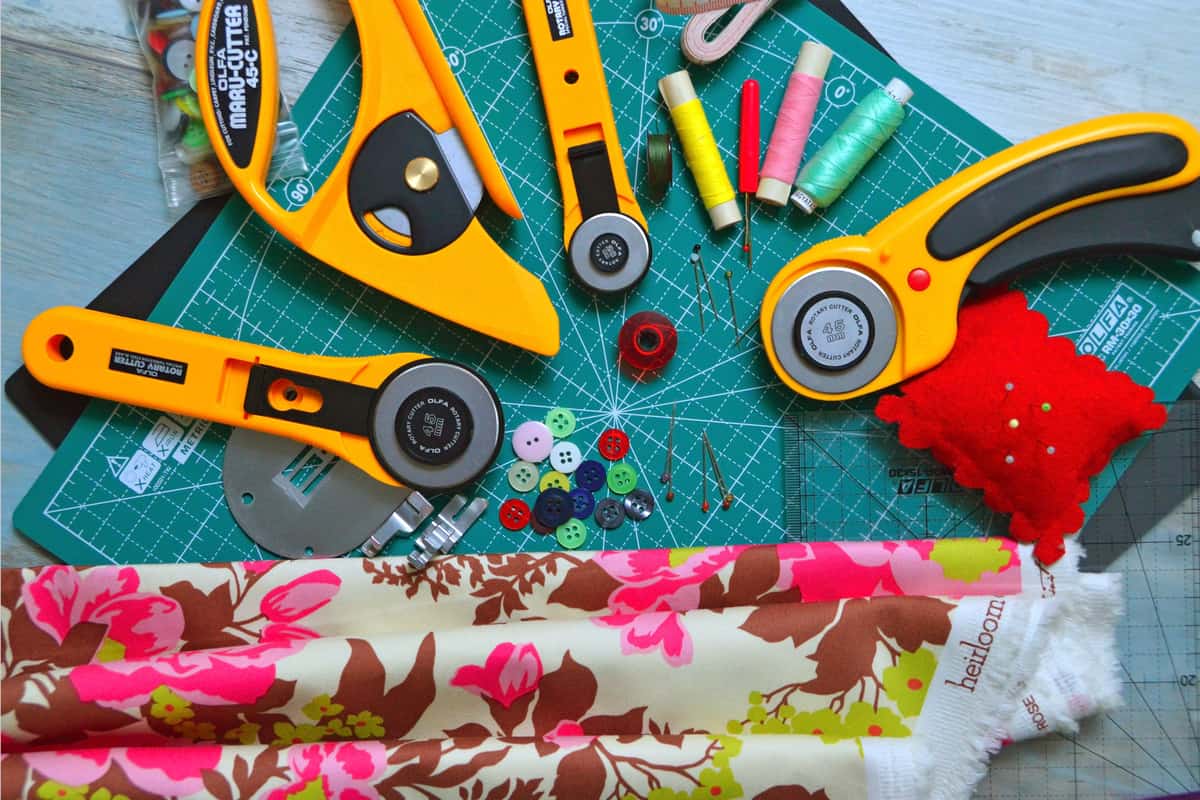
Temperature is only one of three variables, and pressure is the one people get wrong. A firm surface is what turns the pressure you apply into pressure the design receives, instead of pressure a padded ironing board absorbs.
What works
- Turns an uneven surface into an even one, which is most of a good press
- Protects the table underneath
- Costs very little relative to the failures it prevents
What does not
- One more thing to store
- Does not fix pressure that is simply too light
Not for you if
You have a clamshell press with a proper lower platen. The platen already does this job.
Key specs
- Purpose
- Firm heat-resistant base that concentrates pressure into the design
- Why it matters
- Absorbs seams and zips so the design sits flat
- Sizes
- Sized to match common press plates
#ad · affiliate link · we never show a price we cannot verify
Common questions
What temperature should I press HTV at?
What temperature for HTV on polyester?
How long do you press heat transfer vinyl?
Why does my design peel even though the temperature was right?
Should I peel hot or cold?
What temperature for a cotton/polyester blend?
Sources
- Siser product and application guidance — EasyWeed published time, temperature, pressure and peel guidance, verified 27 September 2026
- Cricut Heat Guide — Settings by press, material and blank, verified 27 September 2026
How we picked
We verify every product is currently sold by reading the manufacturer's own catalog, compare published specifications rather than marketing copy, and rank on what a first-time buyer has to decide. We do not run lab tests and we do not claim to, and commission never affects the order.
Read this next
How to Use HTV
The full HTV process from cut to peel, plus a troubleshooting section for when it does not stick.
The Best Heat Press for Beginners
Handheld or clamshell, which suits your volume and space, and when you need no press at all.
The Best HTV Vinyl for Beginners
Which heat transfer vinyl weeds cleanly and presses forgivingly — and which to switch to later.

Sublimation Temperature Guide
Times and temperatures by blank type, sourced, plus what to adjust when a transfer comes out pale.

Your First Cricut Shirt
A complete first-shirt walkthrough, with the three common mistakes flagged before you make them.
Back to Heat Presses.