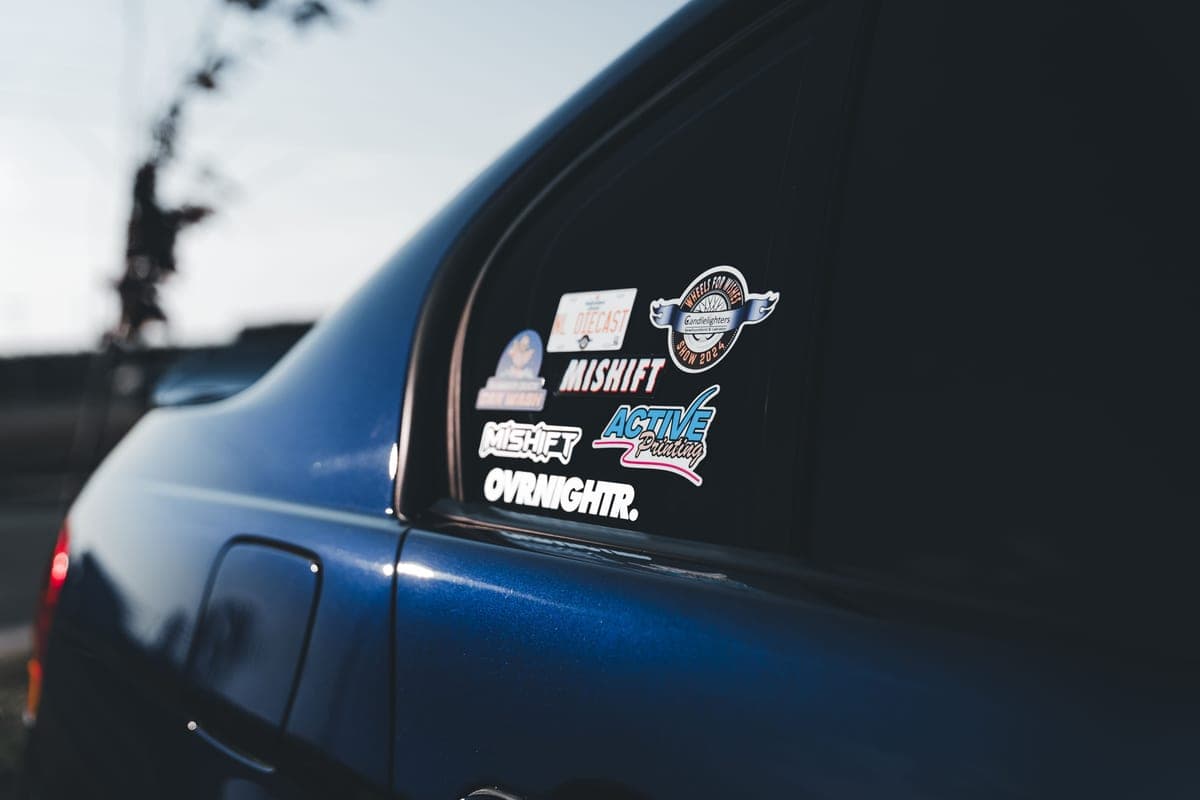
Your First Vinyl Decal
The cheapest project to start with, because it needs no heat source at all.
Heads up: Mat & Blade earns a commission from qualifying purchases made through the links on this page, at no extra cost to you. It never changes which products we recommend or how we rank them. Read the full disclosure.
Cut it the normal way round — not mirrored — weed the waste, apply transfer tape, clean the surface with isopropyl alcohol, and hinge the decal down from one edge. A decal needs no heat source at all, which makes it the cheapest possible first project and the best way to learn cutting and weeding.
What you need
- A cutting machine and a standard grip mat
- Adhesive vinyl — permanent or removable, depending on the surface
- Transfer tape, ideally gridded
- A weeding hook and a scraper
- Isopropyl alcohol and a lint-free cloth
- Something to decorate — a tumbler, a laptop, a window, a jar
No heat press. No iron. Adhesive vinyl sticks by adhesive alone, which is why this project costs so much less to attempt than a shirt.
Pick the right vinyl first
This is the only decision that can spoil the project before you start.
| Surface | Vinyl |
|---|---|
| Tumbler or water bottle | Permanent — hand wash afterwards |
| Car window | Permanent |
| Laptop or phone case | Permanent, or removable if you change it often |
| Painted wall | Removable — permanent can take the paint |
| Glass jar or window decor | Permanent |
| Painting stencil | Removable — it has to lift cleanly |
The process
1Do NOT mirror
Adhesive vinyl is cut face-up, so the design goes into the machine the right way round. This is the opposite of heat transfer vinyl, and it catches people who read a shirt tutorial first. If your software is prompting you to mirror, you have selected an iron-on material by mistake.
2Load it paper backing down
The colored side faces up, the paper backing goes down against the mat. Roll it flat with a scraper or brayer so no corner can lift mid-cut.
3Cut, then check before unloading
Select the correct material setting and cut. Before unloading, lift a corner of the waste to confirm the blade went through the vinyl but not the paper backing. If it cut too shallow you can run it again without moving anything.
4Weed the waste
Remove everything that is not the design, including interiors like the middle of an O. Angle a lamp low so the cut lines catch. Pull the waste back on itself at a shallow angle rather than straight up. Full technique.
5Apply transfer tape
Cut a piece slightly larger than the design, lay it over the weeded vinyl, and burnish it down firmly with the scraper. Work from the center outwards to push air out. The firmer you burnish, the more reliably every piece lifts together.
6Clean the surface properly
Isopropyl alcohol on a lint-free cloth, then let it dry completely. Not soapy water — washing leaves residue, and on glass a fingerprint alone is enough to stop the adhesive bonding. This step is the single most common cause of a decal that lifts later.
7Peel the backing and hinge it down
Peel the paper backing away from the tape at a sharp angle, so the vinyl stays on the tape. Tape one edge of the design to the surface first, then lay the rest down progressively with the scraper, working from that edge outward to push air out as you go. Do not drop the whole thing on at once.
8Burnish, then peel the tape
Burnish the whole decal through the tape. Then peel the tape back slowly at a sharp angle — almost flat against the surface, not straight up. If vinyl lifts with the tape, lay it back down, burnish that area again, and continue.
9Leave it to cure
Permanent adhesive cures over roughly 24 to 72 hours. Do not wash it, get it wet, or expose it to weather during that time. This prevents a large share of early failures.
If something went wrong
| What happened | Why | Fix |
|---|---|---|
| Vinyl stayed on the backing | Tape not burnished firmly enough | Lay it back down and burnish harder |
| Vinyl lifted with the tape | Peeled too fast or at too steep an angle | Lay back down, burnish, peel flatter and slower |
| Letters ended up crooked | Applied without hinging | Tape one edge first and lay down progressively |
| Bubbles under the decal | Air trapped during application | Work from the center out; pop stubborn ones with a pin |
| Decal lifted after a few days | Surface not cleaned with alcohol | Clean properly next time; residue is the usual cause |
| Decal came off in the dishwasher | Expected | Hand wash decorated drinkware, always |
What to make next
Once one decal has worked, the same process scales to anything — a car window, a set of pantry labels, a wall quote in removable vinyl. Car decals are the most demanding version and the one where surface prep matters most.
If you want to move to fabric, your first shirt is the walkthrough — and it needs a heat source, which is the main cost difference between the two halves of this hobby.
1. Best for permanent decals
Oracal 651 Permanent Vinyl
Oracal · Currently sold · Verified 2026-09-27
The reference permanent adhesive vinyl, rated for years outdoors, and the right choice for tumblers, cars, laptops and glass. Widely documented, so settings and technique for it are easy to find when you need them.
What works
- The reference permanent vinyl — settings and behavior are documented everywhere
- Genuinely weather-resistant, which most craft-store vinyl is not
- Wide color range and readily available by the roll
What does not
- Permanent means permanent — removing it from paint or a wall can take finish with it
- Gloss finish is not what you want on a wall quote
- Not for fabric under any circumstances
Not for you if
You are decorating a rented wall. Use removable 631 instead and keep your deposit.
Key specs
- Type
- Adhesive vinyl — for hard surfaces, not fabric
- Adhesive
- Permanent, solvent-based
- Outdoor durability
- Oracal rates 651 for up to six years outdoors
- Finish
- Gloss (matte available in some colors)
- Typical use
- Car decals, window signs, tumblers, outdoor labels
#ad · affiliate link · we never show a price we cannot verify

2. Best for wall decals and anything temporary
Oracal 631 Removable Vinyl
Oracal · Currently sold · Verified 2026-09-27
Removable and matte, so it lifts cleanly from paint rather than taking it with you. If your first decal is a wall quote, this is the material — using permanent vinyl there is the mistake that costs a deposit.
What works
- Comes off walls cleanly, which permanent vinyl does not
- Matte finish looks far better than gloss on interior decor
- Makes excellent painting stencils
What does not
- Will not survive outdoors or repeated washing
- Low tack means it can lift on textured surfaces
Not for you if
The decal is going on a car, a tumbler, or anything that gets wet. That is a job for 651.
Key specs
- Type
- Adhesive vinyl — removable
- Adhesive
- Removable, low-tack
- Outdoor durability
- Oracal rates 631 for indoor use, up to around three years
- Finish
- Matte
- Typical use
- Wall quotes, temporary signage, stencils
#ad · affiliate link · we never show a price we cannot verify
3. Best for not optional
Vinyl Transfer Tape
Various · Currently sold · Verified 2026-09-27
The only way to move a weeded multi-piece decal onto a surface with the letter spacing intact. Gridded versions give you a straight reference line against an edge, which makes straight application genuinely easy rather than a matter of luck.
What works
- Turns an impossible alignment job into a single motion
- Gridded versions make straight application genuinely easy
- Cheap relative to how much frustration it removes
What does not
- High-tack tape can pull thin vinyl off its backing and tear it
- Not used for heat transfer vinyl, which has its own carrier sheet
Not for you if
You are only making shirts. HTV comes with its own carrier and needs no transfer tape.
Key specs
- Purpose
- Lifts a weeded decal off its backing and places it as one piece
- Tack
- Medium tack suits most craft vinyl
- Format
- Rolls, usually 12 in wide; gridded versions help alignment
- Reusable
- A sheet can usually be reused several times
#ad · affiliate link · we never show a price we cannot verify
4. Best for step three
Vinyl Weeding Tool Set
Various · Currently sold · Verified 2026-09-27
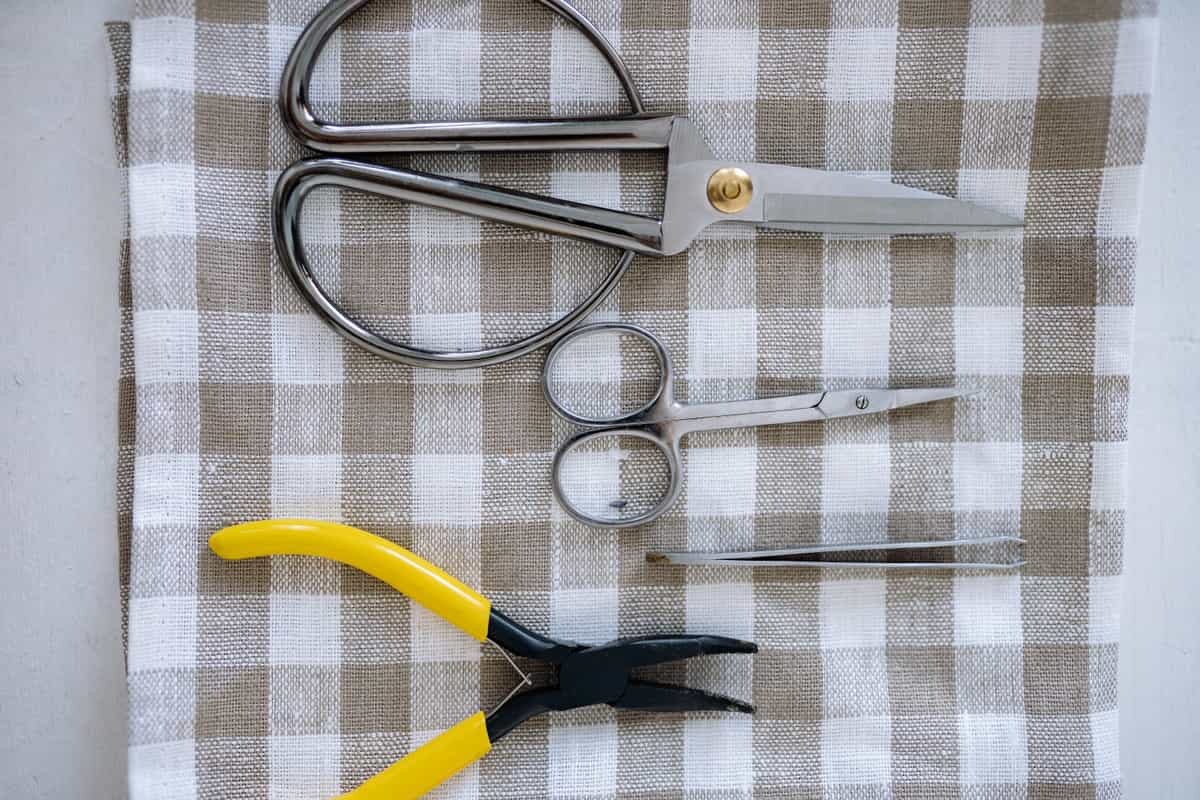
A hook for lifting waste and a scraper for burnishing. The scraper does double duty here — burnishing the tape onto the design, then burnishing the design onto the surface.
What works
- Turns the most tedious step into a manageable one
- The scraper doubles as your transfer-tape burnishing tool
- Cheap, and a set lasts years
What does not
- Cheap sets have soft points that dull quickly
- More pieces than you will actually use
Not for you if
Nothing — if you cut vinyl, you need at least a hook.
Key specs
- Typical set
- Weeding hook, fine tweezers, scraper, spatula, scissors
- Used for
- Removing the vinyl you did not cut out of the design
- Also fits
- Every brand of machine — nothing here is Cricut-specific
#ad · affiliate link · we never show a price we cannot verify
5. Best for holding the vinyl
Cutting Machine Mats
Various · Currently sold · Verified 2026-09-27
A standard grip mat is right for adhesive vinyl. Roll the material flat before cutting so no corner can lift mid-cut, which is a common cause of a cut going wrong halfway through.
What works
- Correct grip prevents both torn material and material sliding mid-cut
- Third-party mats cost noticeably less than brand mats
- Tack can be partly restored with gentle washing
What does not
- They wear out, and a tired mat causes cuts people blame on the machine
- Strong grip can shred thin paper
Not for you if
You only ever cut Smart Materials matless. Even then, keep one standard mat for the day you buy ordinary vinyl.
Key specs
- Grip levels
- Light, standard, strong, and fabric-specific
- Standard grip
- Vinyl, iron-on, cardstock — the everyday mat
- Strong grip
- Thick cardstock, chipboard, glitter materials
- Light grip
- Thin paper and vellum that would tear on a standard mat
- Lifespan
- Consumable — tack declines with use and is partly restorable
#ad · affiliate link · we never show a price we cannot verify
Common questions
How do I apply a vinyl decal?
Do I mirror a vinyl decal?
Do I need a heat press for vinyl decals?
Why is my decal not sticking?
Can I put a vinyl decal in the dishwasher?
How long before a decal is fully stuck?
Sources
- Orafol / Oracal product data — 651 and 631 adhesive types, cure behavior and intended surfaces, verified 27 September 2026
- Cricut material information — Adhesive vinyl cut settings and transfer tape guidance, verified 27 September 2026
How we picked
We verify every product is currently sold by reading the manufacturer's own catalog, compare published specifications rather than marketing copy, and rank on what a first-time buyer has to decide. We do not run lab tests and we do not claim to, and commission never affects the order.
Read this next
The Best Vinyl for a Cricut
The right vinyl for each surface — permanent, removable and heat transfer, with the reasoning.
Permanent vs Removable Vinyl
Which adhesive vinyl for which surface, with the durability ratings and the consequences of choosing wrong.
How to Weed Vinyl
Technique, tools and the reverse-weed trick that makes fine script designs manageable.
The Best Vinyl for Car Decals
Outdoor-rated vinyl for vehicles, plus the application detail that decides whether it lasts a season or years.

Your First Cricut Shirt
A complete first-shirt walkthrough, with the three common mistakes flagged before you make them.
The Best Permanent Vinyl
Permanent vinyl that genuinely lasts outdoors, plus the surfaces where it is the wrong answer.
Back to Start Here.