Cricut Mat Not Sticky Any More?
Most mats people throw away still had months left in them. Here is the order to try things in.
Heads up: Mat & Blade earns a commission from qualifying purchases made through the links on this page, at no extra cost to you. It never changes which products we recommend or how we rank them. Read the full disclosure.
A mat that has stopped gripping is usually dirty rather than finished. Lift the fibres and offcuts off with a plastic scraper, then wash the mat with warm water and a drop of dish soap, rub gently with a soft brush, rinse and air dry face up — tack usually comes back. Replace it only when the surface is visibly scored with blade lines, because cleaning cannot restore a cut-up adhesive layer. Before any of that, check two things that masquerade as a dead mat: a dull blade, and vinyl that is curling off the surface.
First, rule out the two things that are not the mat
Two completely different problems produce the "my mat is not sticky" symptom, and both are cheaper to fix than a mat.
A dull blade. When a blade stops severing the material cleanly, the waste stays partly attached, the design drags as the blade travels, and pieces lift off the mat. That lifting reads as a grip failure. The tell is ragged edges and incomplete cuts on a test square. A blade drops into the existing housing in seconds and costs a fraction of a mat, so it is the first test to run. The blade guide covers lifespan by material — glitter cardstock and heavy card dull a fine-point blade fastest.
Material that is not actually in contact. Vinyl off a roll remembers the roll, so the sheet arches and the edges sit above the adhesive. The mat grips nothing it cannot touch. Rolling the sheet flat with a brayer or burnishing it with a scraper puts the whole surface down, and this alone fixes a surprising number of mats people had given up on. Mat grip levels explains why contact area beats tack strength.
How to clean a cutting mat
If the blade and the contact are fine, clean the mat. The order matters, and so does what you leave out.
1Lift the loose debris
Run a plastic scraper across the mat at a shallow angle to collect lint, paper fibres and tiny offcuts into a ridge, then lift them off. Do not use a metal blade or anything with a sharp edge — scoring the surface is the one kind of damage you cannot undo.
2Lift the stuck debris
Press a piece of transfer tape or masking tape onto the remaining fuzz and peel it off. Repeat with fresh tape until it stops lifting anything. This handles the fibres a scraper slides over.
3Wash it
Warm water, one drop of dish soap, and a soft brush or a lint-free cloth. Work in small circles with light pressure over the whole surface. The water will go cloudy — that is the dirt coming out of the adhesive, which is the point.
4Rinse thoroughly
Any soap residue left behind stays as a film on the adhesive and reduces tack. Rinse under running water until the surface no longer feels slippery.
5Air dry face up
Lay it flat, adhesive side up, and leave it. Do not pat it with a towel, which transfers lint straight back onto the wet adhesive, and do not use heat. It will feel tacky again as it dries. Replace the clear cover sheet once it is fully dry.
When a mat is genuinely finished
Mats are consumables. Even a well-treated one wears out, and these are the signs that cleaning will not help.
- Visible blade scoring. A grid of fine cut lines across the surface, usually worst in the middle where you always place designs. The adhesive layer is physically cut away there.
- It has stopped being flat. A mat with a permanent curl or a wave in it will not feed evenly under the rollers, and the cut depth varies across the sheet as a result.
- Tack returns for one project and vanishes. Usually the signature of solvent damage. The adhesive is compromised rather than dirty.
- Delamination. The adhesive layer lifting away from the plastic carrier, often starting at a corner. Nothing to be done.
- Clean, dry, still will not hold. If it has had a proper wash, dried fully, and vinyl rolled flat onto it still lifts, it is done.
Our picks in full
1. Best for when cleaning genuinely has not worked
Cutting Machine Mats
Various · Currently sold · Verified 2026-09-27
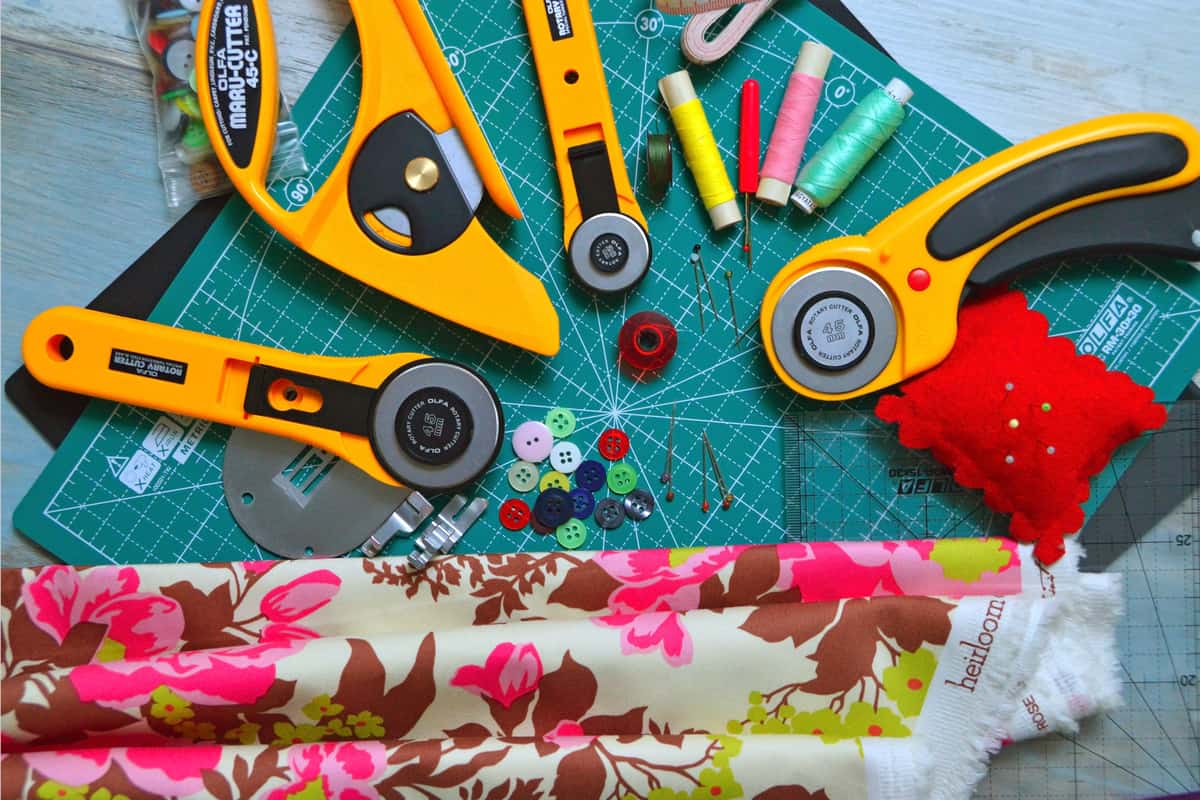
The eventual answer, after the cheaper steps have failed. A mat whose surface is visibly scored with blade lines has lost the smooth adhesive layer the tack lives in, and no amount of cleaning brings that back. Buying a set rather than a single is usually the better move at that point, because having a spare means you are not cutting on a tired mat while you wait for a delivery. The mats are consumables and should be budgeted as such — the adhesive is the only thing that differs between grip levels.
What works
- Correct grip prevents both torn material and material sliding mid-cut
- Third-party mats cost noticeably less than brand mats
- Tack can be partly restored with gentle washing
What does not
- They wear out, and a tired mat causes cuts people blame on the machine
- Strong grip can shred thin paper
Not for you if
You only ever cut Smart Materials matless. Even then, keep one standard mat for the day you buy ordinary vinyl.
Key specs
- Grip levels
- Light, standard, strong, and fabric-specific
- Standard grip
- Vinyl, iron-on, cardstock — the everyday mat
- Strong grip
- Thick cardstock, chipboard, glitter materials
- Light grip
- Thin paper and vellum that would tear on a standard mat
- Lifespan
- Consumable — tack declines with use and is partly restorable
#ad · affiliate link · we never show a price we cannot verify
2. Best for fixing the problem that looks like a dead mat
Craft Brayer
Various · Currently sold · Verified 2026-09-27
Often the actual fix, which is why it sits above a replacement mat in the order of things to try. A mat only grips where the material touches it, and vinyl off a roll arches so the edges never make contact. The resulting lift mid-cut looks exactly like a mat that has given up. Rolling the sheet flat puts the full surface in contact and frequently makes a mat people had written off work normally again. It also burnishes transfer tape onto a finished decal.
What works
- Fixes lifted-corner cutting failures before they happen
- Doubles as a burnishing tool for transfer tape
- Very cheap
What does not
- A scraper does most of the same job
- One more tool to lose
Not for you if
You cut only matless Smart Materials. There is no mat to roll onto.
Key specs
- Purpose
- Rolls material flat onto the mat so it cannot lift mid-cut
- Also useful for
- Burnishing transfer tape onto a decal
- Size
- Small hand roller, usually rubber
#ad · affiliate link · we never show a price we cannot verify
How to make the next one last
- Keep the cover sheet on. It exists to stop airborne dust settling on the adhesive, and it is the single highest-return habit here. A mat left face up on a desk ages far faster than one that is covered.
- Place designs in different spots. Design software defaults to the top left corner. Moving the design around spreads blade scoring across the whole mat instead of wearing one patch out first.
- Lift material, do not peel the mat. Flex the mat and lift the material off with a spatula or your fingers from a corner. Bending the mat backwards to peel a sheet off is what puts a permanent curl in it.
- Match the grip to the material. Thin paper on a strong mat tears; heavy cardstock on a standard mat lifts. Which mat for each material is the lookup.
- Use Smart Materials for long jobs. They cut with no mat at all, so the long decals that would otherwise wear a 12 x 24 mat out use nothing.
If this started because a project went wrong rather than because the mat felt odd, it is worth reading the mat guide for sizes and grip together, and how to weed vinyl if the real problem turned out to be the weeding step.
Common questions
How do I make my Cricut mat sticky again?
Can I use alcohol or baby wipes to clean a cutting mat?
Should I spray adhesive on my cutting mat?
How long does a cutting mat last?
Why does my mat not hold vinyl even though it looks clean?
When should I replace a cutting mat instead of cleaning it?
Sources
- Cricut Help Center — Manufacturer mat care and cleaning guidance, including materials to avoid, checked 6 October 2026
- Cricut official product catalog — Mat grip levels and stated consumable nature of cutting mats, verified 6 October 2026
How we picked
We verify every product is currently sold by reading the manufacturer's own catalog, compare published specifications rather than marketing copy, and rank on what a first-time buyer has to decide. We do not run lab tests and we do not claim to, and commission never affects the order.
Read this next
Cricut Mat Guide
Grip levels, sizes, and how to restore tack — plus why mats cause faults that look like machine faults.
Cutting Mat Grip Levels Explained
What light-tack, standard-tack and strong-tack actually mean, how the colours map to grip, and why the wrong grip ruins a cut.
Which Cricut Mat for Each Material
Every common craft material matched to the grip level it needs, plus the ones that need no mat at all.
Cricut Blade Guide
Which blade cuts what, when to replace, and why a dull blade masquerades as a broken machine.
How to Weed Vinyl
Technique, tools and the reverse-weed trick that makes fine script designs manageable.
The Cricut Accessories You Actually Need
The short list that genuinely earns its space, the longer list that does not, and the buying order.
Back to Vinyl & Materials.